Radiant barrier installation plays a crucial role in enhancing energy efficiency in homes. These barriers can significantly reduce cooling costs during hot months by reflecting radiant heat away from living spaces. Understanding the installation process helps homeowners make informed decisions about improving their property's thermal performance.
The installation typically involves placing reflective materials in attics, walls, or roofs, creating an effective barrier against excessive heat. Choosing the right materials and ensuring proper placement are essential to achieving optimal results. With the right approach, radiant barriers can be valuable to any insulation strategy.
Homeowners prioritizing comfort and energy savings should consider radiant barrier installation as a practical measure. It contributes to a more comfortable indoor environment and helps lower energy bills over time. Investing in this improvement can yield substantial long-term benefits for any household.
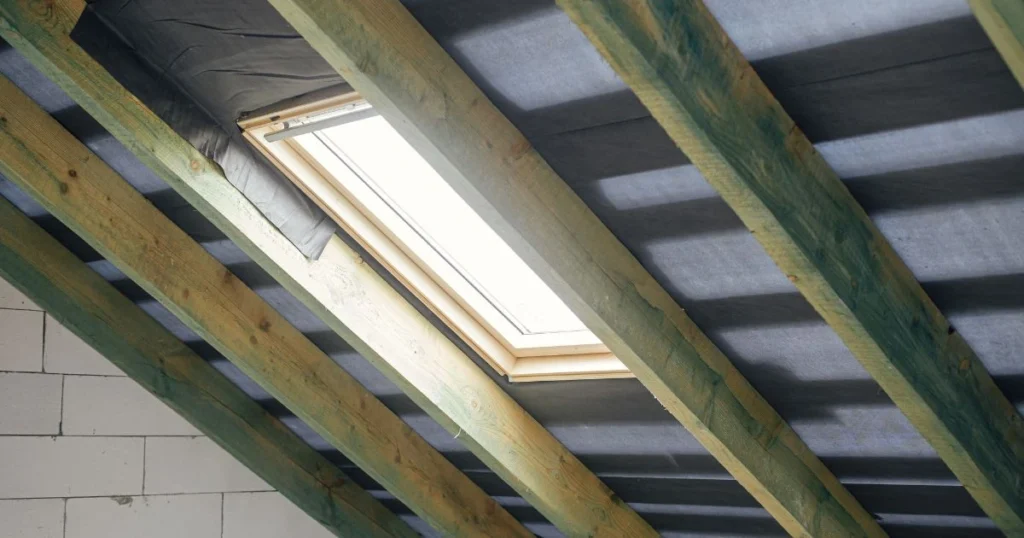
Radiant barriers are essential components in energy efficiency, particularly in hot climates. They work by reflecting radiant heat rather than absorbing it, which can lead to substantial energy savings.
A radiant barrier is a reflective insulation product, often made of aluminum foil, designed to reduce heat transfer in buildings. It is typically installed in attics, ceilings, and walls.
This barrier reflects thermal radiation from the sun in hot weather, keeping homes cooler. In colder climates, it can help retain heat within the living space. Its primary use is in residential and commercial buildings to improve energy efficiency.
Installing a radiant barrier can bring various benefits, particularly energy cost reductions. Due to reduced heat gain, homeowners may experience lower cooling costs during hot months.
The barriers can also enhance comfort levels by maintaining consistent indoor temperatures. Additionally, radiant barriers can minimize the risk of moisture-related problems, such as mold, by lowering attic humidity levels.
Other benefits include extending the lifespan of HVAC systems and improving overall home value. Effective installation by experienced radiant barrier insulation installers near me can maximize these advantages.
There are primarily two types of radiant barriers: foil-faced and reflective paint.
Choosing the right type depends on installation specifics, local climate, and overall energy efficiency goals. Professional guidance and installation can ensure optimal radiant barrier performance.
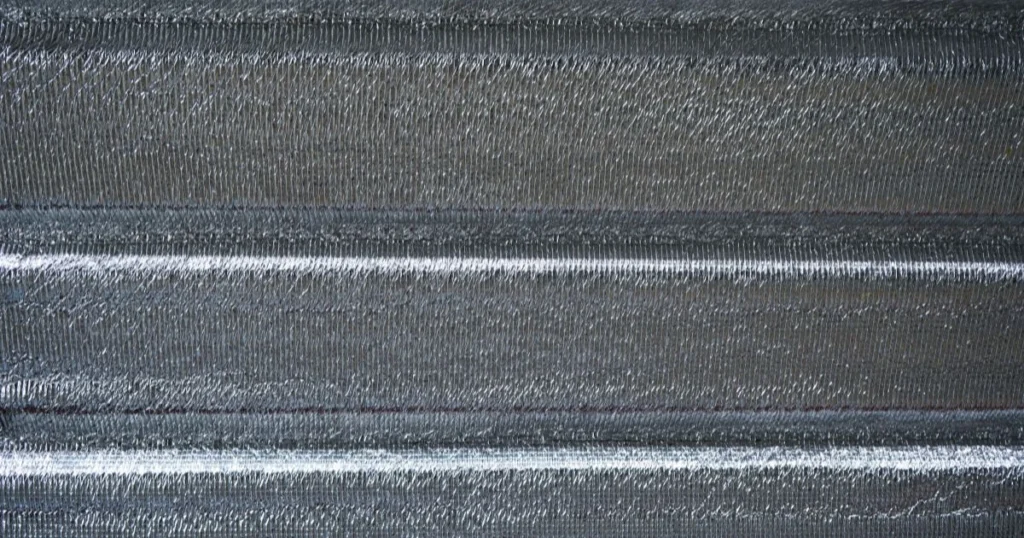
Appropriate materials and essential tools are crucial for a successful radiant barrier installation. Attention to detail in both categories ensures effective performance and long-lasting results.
Reflectivity and durability are paramount when selecting materials for a radiant barrier. The most common material is aluminum foil, known for its high reflectivity. It often achieves an R-value between 3.0 and 6.0. Other options include reflective insulation products, which combine insulation with a radiant barrier.
Consider the thickness of the material as well. Thicker barriers provide better insulation but can be more challenging to install. The choice should also depend on the specific environment; for example, different materials may perform better in varying humidity or temperature conditions.
Always ensure the selected material is compatible with local building codes and has a flame retardant rating for safety compliance.
Installation requires specific tools to ensure precise and efficient application. A utility knife is essential for cutting the radiant barrier to fit the required dimensions. Safety goggles and gloves are also necessary to protect against sharp edges and insulation materials.
A staple gun is crucial for securely fastening the barrier to wooden beams or rafters. For larger areas, a measuring tape helps ensure proper alignment and coverage.
A ladder may be necessary if working in hard-to-reach spaces. A heat gun can also be useful for sealing overlaps and improving adhesion. These tools simplify the installation process and contribute to a professional finish.
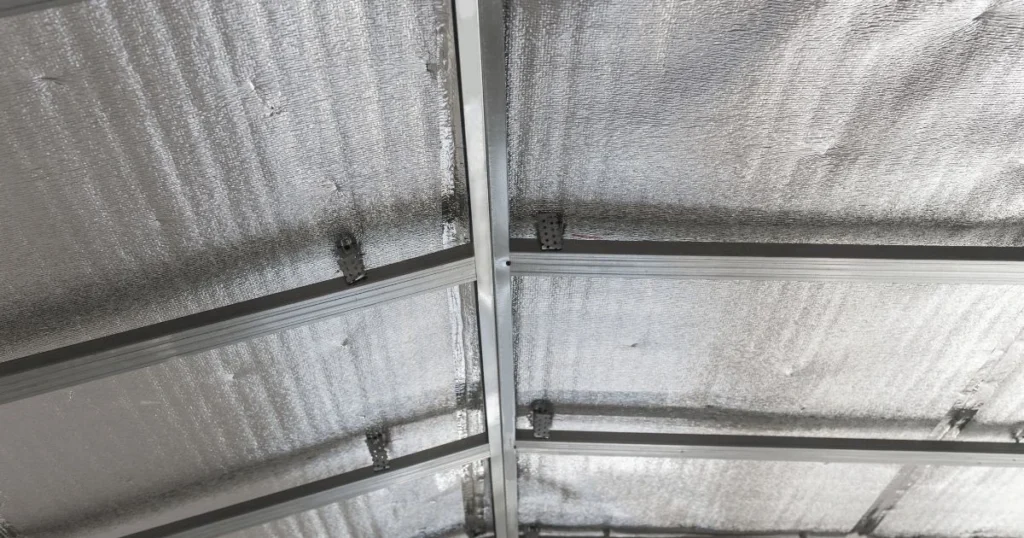
Careful planning and preparation are essential before starting radiant barrier installation. Focusing on safety and thorough attic inspection will ensure a successful and efficient installation process.
Safety is paramount during radiant barrier installation. To protect against insulation fibers and dust, appropriate gear should be worn, including gloves, safety glasses, and a dust mask.
Using a sturdy ladder is crucial to access the attic safely. Ensuring proper ventilation while working in confined spaces also helps prevent heat exhaustion or other health issues.
Electrical safety is another important aspect. Before installation, it is essential to turn off any attic fans or electrical systems. Also, always check for exposed wiring to avoid accidents.
Inspecting the attic is vital before installing a radiant barrier. This step allows the identification of any existing issues, such as moisture problems or signs of pests.
Address any leaks or repairs needed before installation. Clean the attic space thoroughly to remove debris, old insulation, or obstructions that may hinder installation.
During the inspection, assess the insulation type already in place. This will determine the best radiant barrier installation method. For instance, if foil is used, it is crucial to maintain proper airspace, usually requiring a 1 to 3-inch gap between the barrier and the roofing material.
It is equally important to note ventilation systems. Ensure airflows are unblocked, as proper ventilation enhances the radiant barrier's performance.
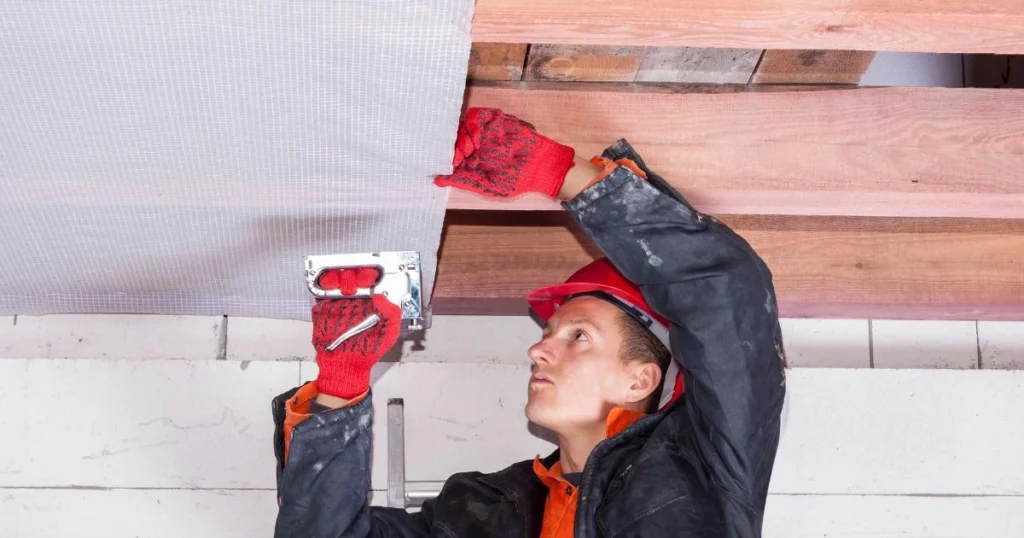
The installation of radiant barriers involves a few essential steps. Understanding the specific methods for different locations, such as attics, can enhance efficiency and effectiveness.
The process is slightly different for attic installations. This method focuses on the ceiling or roof area to reflect heat away.
Different situations may require an adapted installation approach. When working with rafters and walls, consideration is crucial.
Following these guidelines will help achieve an efficient radiant barrier installation, maximizing energy savings.
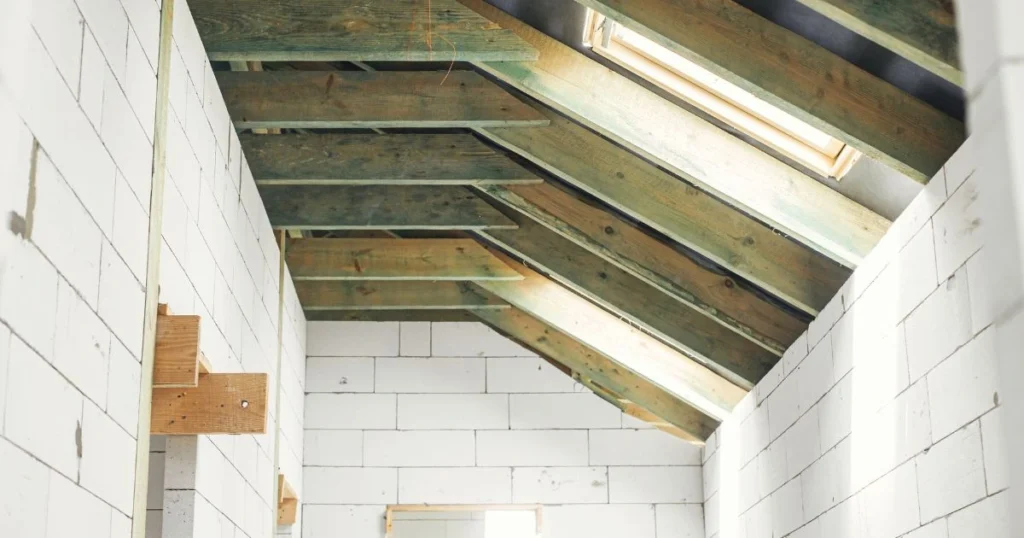
Proper inspection and maintenance are crucial after installing a radiant barrier to ensure optimal performance. Following these best practices can help maintain energy efficiency and prolong the installation's lifespan.
Post-installation inspection is essential to identify any installation-related issues. The installer should conduct a thorough walkthrough of the project site to check for:
It's important to check for potential obstructions, such as insulation that could block the radiant barrier's effectiveness. A well-informed homeowner or building manager can request these inspections during and after installation to ensure compliance with quality standards.
Maintaining a radiant barrier involves regular checks to ensure its continued effectiveness. Routine inspections can include:
The installer may provide specific maintenance guidelines based on the material and installation methods. Recording inspections and actions can also help maintain warranty coverage.
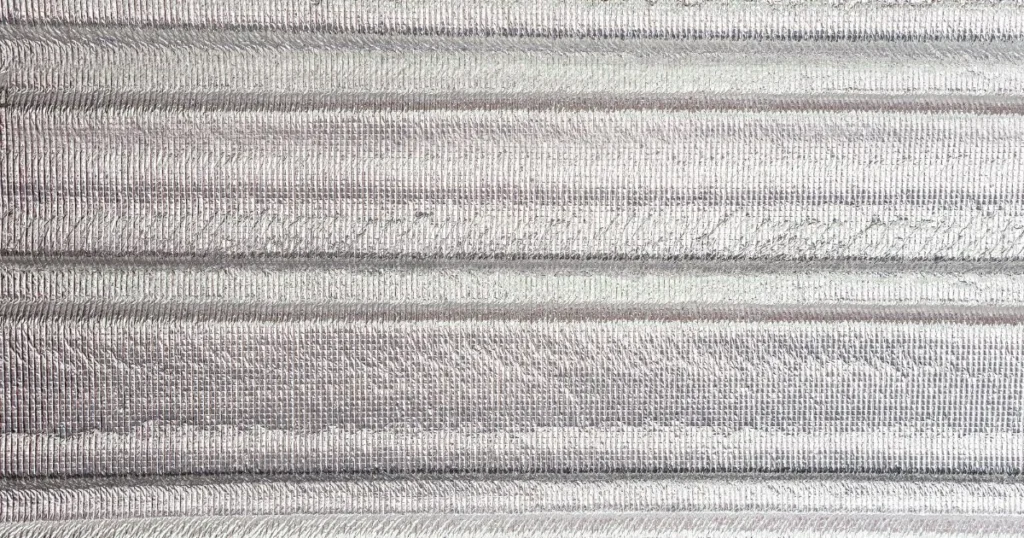
Effective installation of radiant barriers significantly enhances energy efficiency in homes. Optimizing and integrating their performance with existing insulation systems are essential for maximizing benefits.
It is crucial to install radiant barriers correctly to maximize their performance. They should face an air space, typically with the reflective side positioned towards the heat source. This alignment allows the barrier to effectively reflect radiant heat, reducing cooling costs during hot months.
Proper installation involves sealing all edges and gaps to prevent air infiltration. This is often done using foil tape or similar materials. Regular inspection and maintenance help ensure the radiant barrier remains functional over time. The optimal effectiveness can save energy, particularly in climates with extreme temperatures.
Integrating radiant barriers with existing insulation can enhance overall energy efficiency. Before making adjustments, assessing the current insulation type and its condition is important. Radiant barriers can be installed over fiberglass, cellulose, or foam board insulation to boost thermal resistance.
Creating a combined insulation system can address various thermal layers, improving comfort levels in living spaces. Homeowners should also consider the layout of their homes and attic space, ensuring that the installation does not obstruct ventilation. This thoughtful integration can yield significant energy savings while optimizing the performance of both insulation types.
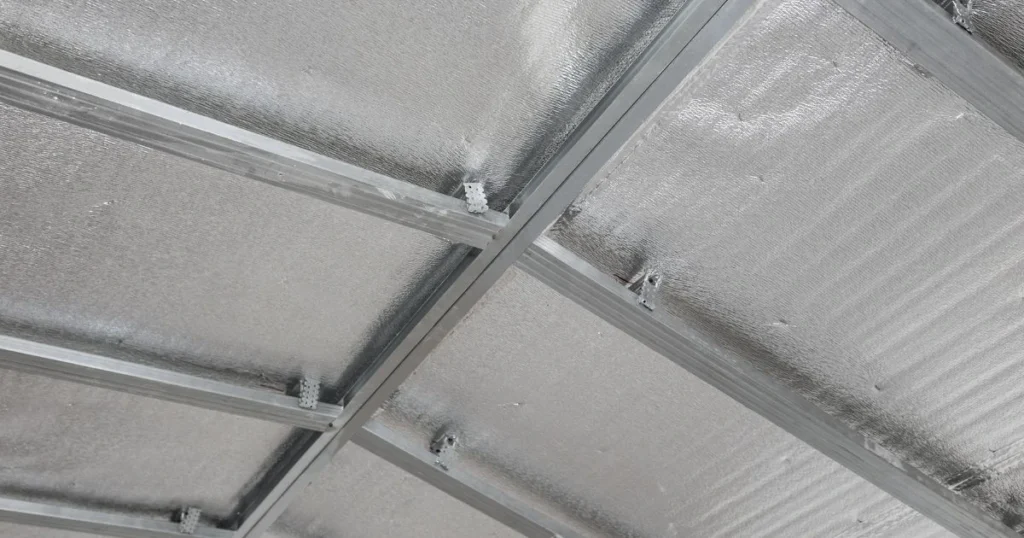
Issues can arise during radiant barrier installation, often related to condensation and improper installation techniques. Awareness of these problems allows for better solutions to maintain effectiveness and durability.
Due to a temperature differential, condensation can form on radiant barriers, particularly in attics. To mitigate this, ensure adequate ventilation in the attic space.
If condensation is already present, address it promptly. Dry wet materials and consider upgrading to higher-grade radiant barriers with moisture-resistant properties.
An incorrect installation can reduce the efficiency of a radiant barrier. Common mistakes include improper placement and insufficient fastening.
If the installation seems inadequate, repositioning or reinstalling the barrier may be necessary. Regular inspections can help catch these issues early, maintaining the system's overall performance.
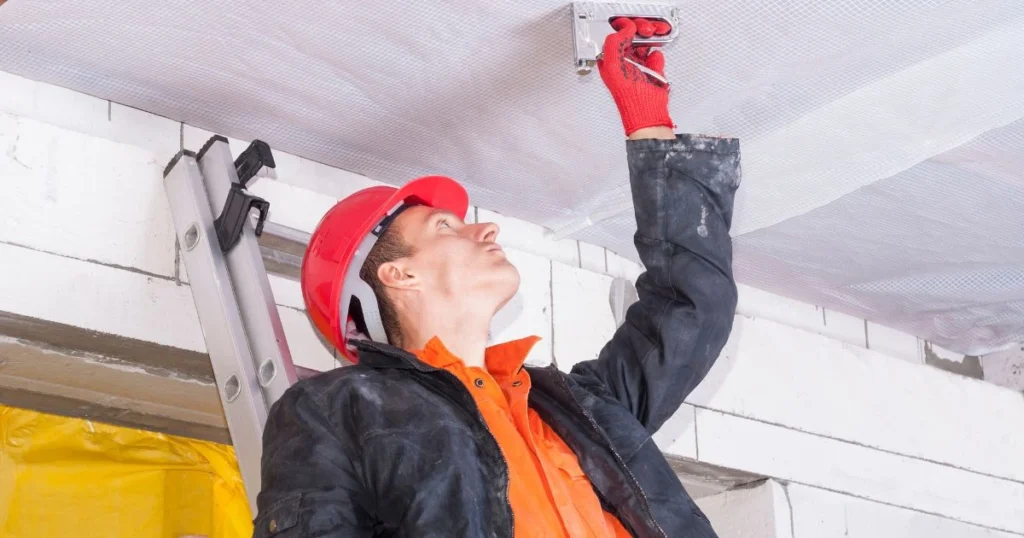
Understanding local building codes and regulations is crucial when installing a radiant barrier. Compliance ensures not only safety and effectiveness but also prevents potential legal issues. The following subsections address key considerations related to state and local regulations and the importance of hiring certified professionals for installation.
Each state has specific codes regarding construction materials and methods. Local building authorities typically enforce these, which can vary significantly from region to region.
It's essential to consult the local building department to obtain current requirements for radiant barrier installation. Common regulations may include:
Failure to adhere to these codes can result in fines or necessary modifications to the installation.
Hiring a certified radiant barrier installer is crucial to ensuring compliance with building codes and local regulations. Certified professionals, like those Critter Stop partners with, have the training and expertise needed to meet state and local requirements effectively.
Here are some key benefits of hiring certified installers:
For homeowners seeking qualified professionals, Critter Stop can help. Known for its high-quality work, fantastic reputation, and excellent customer reviews, Critter Stop offers various services, including wildlife and pest removal. Contact Critter Stop today at (214) 234-2616 for a free inspection and let them assist with your wildlife or pest problems.
This section addresses common questions related to radiant barrier installation. It covers best practices, installation methods, costs, and the efficiency of radiant barriers in various settings.
The radiant barrier should be installed with the reflective side facing the heat source to achieve maximum efficiency. Proper placement and ensuring that there are no gaps or overlaps that could compromise performance are crucial.
Installing a radiant barrier without professional help involves several steps. Begin by measuring the area, cutting the barrier material to size, and securing it using staples or adhesive. Careful attention to detail during installation enhances effectiveness.
Key steps for installing a radiant barrier in the attic include cleaning the area, measuring the space accurately, cutting the barrier to fit, and installing it directly onto the rafters or ceiling joists. Ensure it is secure and properly aligned for optimal performance.
Basic tools for radiant barrier installation are typically needed, including a staple gun, utility knife, and measuring tape. Additional tools like adhesive can be helpful depending on the location and material.
The typical cost for installing a radiant barrier in the attic can range from $0.50 to $2.00 per square foot. Factors such as material quality and labor charges influence the final price.
The installation process for an attic radiant barrier typically takes one to two days, depending on the attic's size and the installation's complexity. Proper planning and preparation can streamline the process.
When installing a radiant barrier, look for high-quality materials with a reflective coating. Ensure that it is appropriate for the climate and complies with local building codes for safety and effectiveness.
A knowledgeable homeowner can install a radiant barrier in attic regions, but it may pose challenges. Those uncomfortable with heights or complex installations may benefit from hiring a professional.
Radiant barrier insulation can significantly reduce energy bills by minimizing heat transfer. Its effectiveness varies depending on climate, installation quality, and the home's insulation levels.
Common installation methods for radiant barriers include stapling it to rafters or using adhesive to attach it to surfaces. Some homeowners may prefer to use radiant barrier sheathing during new construction.
To install radiant barrier plywood on a roof deck effectively, it is essential to position the reflective side facing upward. Ensure tight seams and use appropriate nails or screws to secure it firmly.
In warmer climates, radiant heat barrier installation can be a valuable investment. It reduces cooling costs and enhances home comfort, making it an effective long-term solution.
Choosing the right installer involves verifying credentials, reading reviews, and obtaining multiple quotes. Selecting someone with experience in radiant barrier installations is crucial to ensure quality work.
To install radiant barrier insulation on a budget, consider purchasing materials in bulk and installing yourself. Research DIY methods and gather all necessary tools before starting the project to minimize costs.
During radiant barrier plywood installation, ensure the material is cut to fit and that seams are tightly secured. Confirm proper alignment and avoid compressing the barrier for optimal performance.
Finding quality radiant barrier insulation installers can be done through online reviews, local home improvement stores, or referrals from neighbors. Always check for licensing and insurance before making a decision.
Visit our Critter Library and learn more about our furry friends


