From removal to installation, we’ve got your home covered. This ain’t our first rodeo!
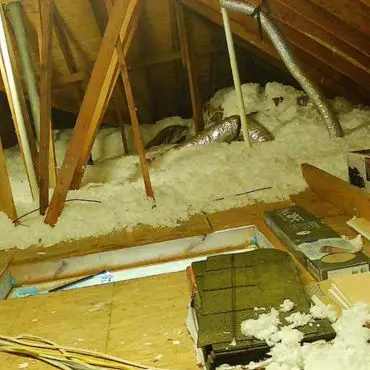
Critter Stop provides expert insulation services to improve comfort, lower energy bills, and prevent pest invasions. Keep your home efficient and cozy with our professional insulation solutions.